replacement laptop ac adapter


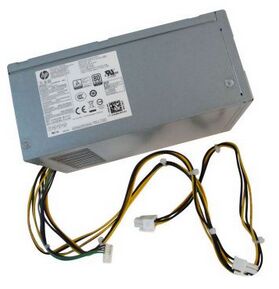
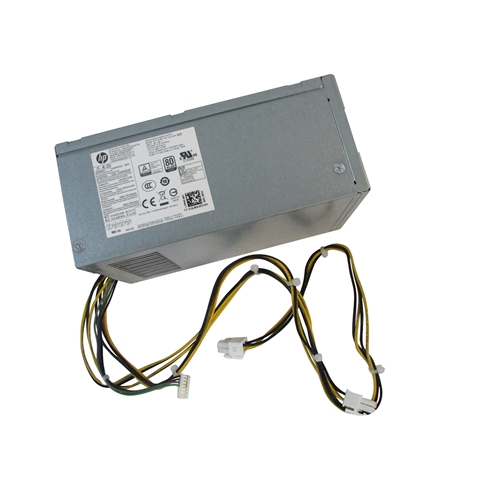
Brand new HP D19-180P1A - 180W 12.1V 14.88A Power Supply.
Please make sure that you are ordering the correct power supply. All of the compatible models listed below come in different sizes and each size has a different power supply. Please check the part #'s, pictures and specifications carefully to make sure that you are ordering the correct power supply.
MAX. OUTPUT POWER: 180W
AC INPUT
100-240V ~ 2.3A 50-60Hz
DC OUTPUT
+12.1V == 14.88A
Dimensions
95mm x 74mm x 165mm
Connectors
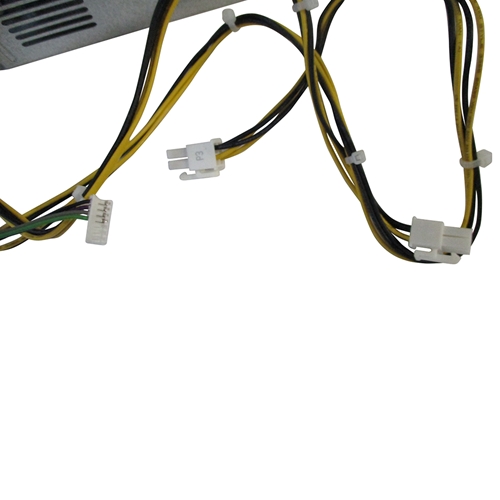
(1) 7-Pin Inline Connector (P2 5.25")
(2) 4-Pin 12V Connector (P1 14") & (P3 25.5")
Replaceability with the following models:
D19-180P1A,
D19-180P1K,
HK280-85PP S1,
L70042-001,
L70042-002,
L70042-004,
L70042-006,
L70042-012,
L81008-800,
PA-1181-6HK,
PCK017
Compatible Models:
HP 600 800 G3 G4,HP pro G3 MT


1.Remove the dead pc power supply Once you've disconnected all the leads, look at the rear of the case and find the three or four screws holding the power supply in place. Remove them, then gently lift out the PS, making sure that the cabling doesn't get tangled on, say, a RAM module or expansion card and accidentally pull it loose.
2. Install the new hp D19-180P1A Pc power supply Out with the old, in with the new. Make sure the replacement Pc power supply is set to the correct voltage. Once the old PS is out, put the new one in its place and screw it in. Now just reverse the steps you performed: connect the leads to their respective outlets, replace any extracted components, and consult your photos to make sure you've left no lead unplugged. (You'd be surprised how easy it is to forget, say, the DVD lead, especially when you've spent 10 minutes trying to wedge in that pesky front-panel lead.)
3. Fire it up Before you close up the case, make sure everything works. Connect the power cord to the Pc power supply, plug in your monitor and keyboard, and fire up the machine. Unless you've failed to connect the main leads to the motherboard, it should come right to life, just like before. Let it boot completely, then check to make sure there's power to the optical drive(s) and, if applicable, the front panel.